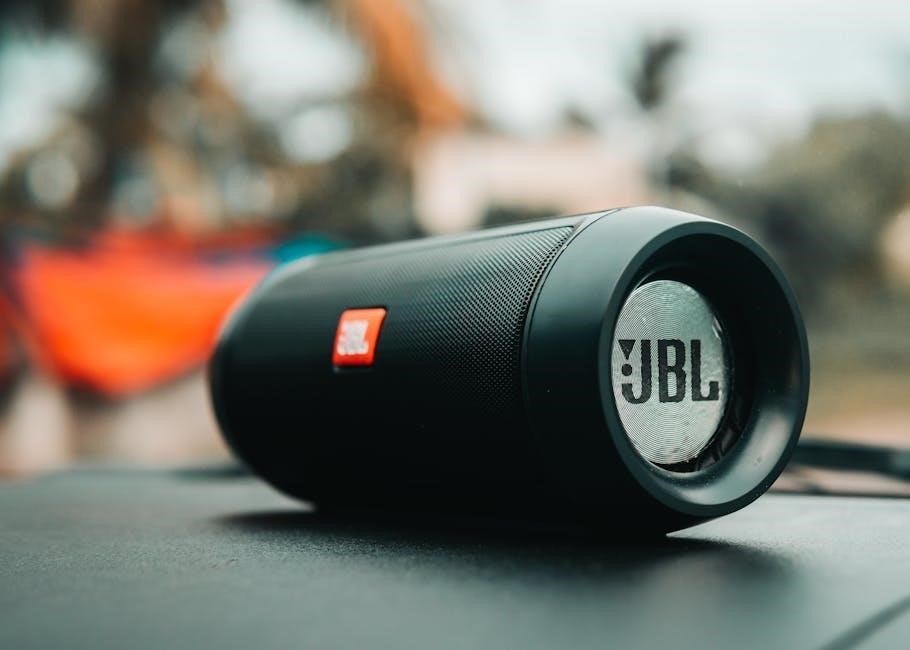
Vivitar Bluetooth Speaker Manual: A Comprehensive Guide
Welcome! This guide provides comprehensive information on your Vivitar Bluetooth Speaker․ Learn how to maximize your speaker’s potential, from initial setup to troubleshooting common issues․ Enjoy wireless, high-quality audio and hands-free calling with ease․
Vivitar Bluetooth speakers offer a convenient and portable way to enjoy music wirelessly from various devices like smartphones, tablets, and laptops․ Known for their ease of use and compatibility with various Bluetooth-enabled devices, Vivitar speakers aim to deliver high-quality audio for both music listening and hands-free calling․ These speakers often feature rechargeable batteries for on-the-go use, making them ideal for parties, events, or simply enjoying music at home․ Many models also incorporate user-friendly controls, LED indicators, and additional functionalities like FM radio or USB playback, enhancing the overall user experience․ Before using your speaker, consult the user manual for specific instructions․
Unboxing and Package Contents
Upon receiving your new Vivitar Bluetooth speaker, carefully unbox the package to ensure all listed components are present and undamaged․ Typically, the package includes the Vivitar Bluetooth speaker itself, a USB charging cable for replenishing the battery, and an audio cable for optional wired connections to devices․ Additionally, you should find a user manual containing important safety precautions, operating instructions, and warranty information․ Some models may also include accessories like a carrying strap․ Verify that each item matches the contents list specified in the included documentation․ If any components are missing or damaged, contact Vivitar support for assistance to resolve the issue promptly․
Safety Precautions
Before using your Vivitar Bluetooth speaker, it is crucial to review and adhere to the outlined safety precautions․ To prevent electric shock, avoid using the speaker near water or in damp environments․ Clean the speaker using a soft, dry cloth․ Do not expose the speaker to extreme temperatures, direct sunlight, or open flames․ Refrain from disassembling or attempting to repair the speaker yourself․ Always use the specified charging cable and adapter to prevent damage to the battery and speaker․ Keep the speaker away from small children and pets to avoid ingestion or injury․ Ensure the speaker is placed on a stable surface to prevent accidental falls․ By following these guidelines, you can ensure safe and prolonged use of your Vivitar Bluetooth speaker․
Initial Setup and Pairing
Get started with your Vivitar Bluetooth speaker! This section guides you through powering on, entering pairing mode, and connecting to your Bluetooth devices․ Enjoy seamless wireless audio in just a few simple steps․
Powering On and Off
To power on your Vivitar Bluetooth speaker, locate the On/Off switch, typically found on the rear or side panel․ Slide the switch to the “ON” position․ You should hear a beep or see an LED indicator light up, signifying that the speaker is now active․ To power off the device, simply slide the same switch to the “OFF” position․ Ensure the speaker is completely off to conserve battery life․ A solid or blinking light typically indicates that the speaker has power, and a visual inspection of the LED indicator can verify the power status․
Entering Pairing Mode
To initiate pairing mode on your Vivitar Bluetooth speaker, first ensure the speaker is powered on․ Often, pairing mode is automatically engaged upon the initial power-up․ However, if the speaker has been previously paired, you may need to manually activate pairing mode․ Look for a Bluetooth button, often indicated by the Bluetooth symbol․ Press and hold this button for a few seconds until the LED indicator light begins to flash rapidly, typically in blue․ This flashing light indicates the speaker is now discoverable and ready to pair with your device․ Check your device for available Bluetooth connections․
Connecting to Bluetooth Devices
Once your Vivitar Bluetooth speaker is in pairing mode, navigate to the Bluetooth settings on your smartphone, tablet, or other Bluetooth-enabled device․ Initiate a scan for available devices․ Your Vivitar speaker should appear in the list, often identified by model number, such as “VF60016BT” or “V60027BT․” Select your speaker from the list to initiate the connection․ You may be prompted to enter a pairing code; if so, try “0000” as this is a common default․ Once connected, the LED indicator light on the speaker will typically turn solid blue, indicating a successful connection․ You can now play audio through your speaker․
Key Features and Functions
Explore the key features of your Vivitar Bluetooth speaker, including audio playback controls, hands-free calling capabilities, and understanding the LED indicator guide․ Learn how to utilize these functions for optimal enjoyment and convenience․
Audio Playback Controls
Understanding the audio playback controls on your Vivitar Bluetooth speaker is essential for seamless music enjoyment; Typically, these controls include buttons for play/pause, volume adjustment, and track skipping․ Pressing the play/pause button allows you to start or stop the music․ Use the “+” and “-” buttons to increase or decrease the volume to your desired level․
To skip to the next track, press the “+” button for a longer duration, and to go back to the previous track, press the “-” button similarly․ Familiarize yourself with these controls to effortlessly manage your audio experience on your Vivitar speaker․
Hands-Free Calling
Many Vivitar Bluetooth speakers come equipped with a built-in microphone, enabling hands-free calling․ When a call comes in while connected to your speaker, you can typically answer it by pressing the play/pause button․ To end the call, press the same button again․
Some models may also allow you to reject an incoming call by holding down the play/pause button․ Ensure your speaker is within a reasonable distance from you for clear communication․ The microphone captures your voice, allowing you to converse without holding your phone․ This feature enhances convenience and safety, especially while driving or multitasking․
LED Indicator Guide
The LED indicator on your Vivitar Bluetooth speaker provides visual cues about its status․ A rapidly blinking blue light usually indicates that the speaker is in pairing mode, ready to connect to a device․ Once successfully paired, the blue light may become solid or blink less frequently․
A red or orange light often signifies low battery or charging status․ When charging, the light may be solid red and turn off or change color when fully charged; Refer to your specific model’s manual for precise color codes and their meanings, as they can vary between different Vivitar speakers․ Understanding these signals helps you monitor your speaker’s operation․
Troubleshooting
Encountering issues with your Vivitar Bluetooth speaker? This section addresses common problems like pairing difficulties, sound quality issues, and charging problems․ Find solutions to keep your speaker working smoothly and enjoy uninterrupted audio․
Pairing Issues
Having trouble connecting your Vivitar Bluetooth speaker to your device? First, ensure the speaker is in pairing mode; the LED indicator should be blinking rapidly․ Check that Bluetooth is enabled on your smartphone, tablet, or other device․ Search for “Vivitar” in the list of available devices and select it․ Make sure your device is within 20-30 feet of the speaker․
If pairing fails, try turning the speaker off and on again, and repeat the pairing process․ Ensure no other Bluetooth devices are interfering with the connection․ If problems persist, consult the full manual or Vivitar support․
Sound Quality Problems
Experiencing distorted or low-quality sound from your Vivitar Bluetooth speaker? Begin by ensuring the volume on both the speaker and your connected device is appropriately adjusted․ Check that the audio source is of high quality and not corrupted․ Obstructions between the speaker and your device may weaken the Bluetooth signal, so try moving closer․
If the issue persists, try unpairing and re-pairing the speaker․ Interference from other wireless devices could also affect sound quality․ Keep your speaker away from microwaves and other potential sources of interference․ For further assistance, refer to the comprehensive user manual or Vivitar support․
Charging Difficulties
If your Vivitar Bluetooth speaker is not charging, first ensure the charging cable is securely connected to both the speaker and a power source․ Verify that the power source is functioning correctly by testing it with another device․ Use only the charging cable provided with the speaker or a compatible replacement․
A damaged charging port can also prevent charging․ Inspect the port for debris or damage․ If the speaker has been unused for an extended period, it may take longer to initiate charging․ Allow it to charge for at least 30 minutes before attempting to power it on․ If problems persist, contact Vivitar support․
Charging and Battery Life
Understanding how to properly charge your Vivitar Bluetooth speaker and maximize its battery life ensures optimal performance․ This section covers charging procedures, battery life expectations, and tips for extending playback time․
Charging the Speaker
To charge your Vivitar Bluetooth speaker, first locate the charging port, typically a micro-USB or USB-C port․ Use the provided USB cable to connect the speaker to a power source, such as a computer, wall adapter, or power bank․ The LED indicator will usually illuminate to show charging status․ A red light often indicates charging, while a blue or green light signifies a full charge․ The charging time varies depending on the model, but typically takes 2-4 hours for a full charge․ Disconnect the speaker once fully charged to prevent overcharging and preserve battery life․ Ensure you use a 5V adapter for optimal charging․
Maximizing Battery Life
To extend the battery life of your Vivitar Bluetooth speaker, start by reducing the playback volume, as higher volumes consume more power․ Avoid exposing the speaker to extreme temperatures, as this can degrade the battery’s performance․ Turn off the speaker when not in use to prevent unnecessary battery drain․ If your speaker has an LED light feature, consider disabling it to conserve power․ Regularly charge the speaker fully to maintain battery health․ Avoid leaving the speaker plugged in after it’s fully charged․ Store the speaker in a cool, dry place when not in use․ By following these tips, you can enjoy longer playtime with your Vivitar speaker․

Warranty and Support
This section details the warranty information for your Vivitar Bluetooth speaker․ Find out how to contact Vivitar support for assistance with any issues or questions you may have regarding your device․
Warranty Information
Your Vivitar Bluetooth speaker is warranted against defects in materials and workmanship for a specific period from the date of original purchase․ The warranty covers normal use and does not extend to damages resulting from accidents, misuse, or unauthorized modifications․ To claim warranty service, you must present the original purchase receipt along with the defective speaker․
Please refer to the included warranty card or visit Vivitar’s website for detailed terms and conditions․ Warranty service may require you to ship the product to an authorized service center․ Ensure to back up any personal data before sending the device, as data loss is not covered under the warranty․ The warranty is valid only in the country of purchase․
Contacting Vivitar Support
If you encounter any issues with your Vivitar Bluetooth speaker or have questions regarding its operation, Vivitar’s customer support team is available to assist you․ You can reach them via phone at 1-800-592-9541 in the US or -800-917-4831 in the UK․ Alternatively, visit the Vivitar website at www․vivitar․com for FAQs, troubleshooting guides, and contact forms․
When contacting support, please provide the speaker’s model number (usually found on the device or packaging) and a detailed description of the problem; This will help the support team diagnose the issue and provide the most effective solution․ Remember to have your proof of purchase ready if warranty service is required․