Perlesmith TV Wall Mount Instructions: A Comprehensive Guide
Welcome! Perlesmith strives for top-quality products and services, offering support via 1-800-556-6806 or supportus@perlesmith.com.
Carefully read instructions before installation, ensuring your wall can support five times the combined weight of the TV and mount.
Understanding Your Perlesmith Mount
Congratulations on selecting a Perlesmith TV wall mount! This guide will ensure a safe and successful installation. Before you begin, familiarize yourself with the mount’s capabilities and limitations. This mount is designed for wood stud, solid concrete, concrete block, and brick walls – crucially, do not install into drywall alone.
Understanding the weight restrictions is paramount; this mount supports up to 60kg (132lbs). Exceeding this limit could lead to instability and potential hazard. The mount accommodates a minimum VESA pattern of 200mm (W) x 100mm (H).
Perlesmith prioritizes customer satisfaction. If you encounter any difficulties or have questions, don’t hesitate to reach out to their technical support at 1-800-556-6806 (US/CAN) or via email at supportus@perlesmith.com (US) / supportca@perlesmith.com (CA). Reviewing these details upfront will streamline the installation process.
Identifying Mount Components
Before starting, carefully unpack and identify all components of your Perlesmith TV wall mount. While a detailed parts list isn’t provided in the source, expect a wall plate designed for secure attachment to wall studs, and TV brackets that connect directly to the back of your television.
Hardware, including bolts, washers, and potentially spacers, will be included to accommodate various TV sizes and VESA patterns. Ensure you have all necessary pieces before proceeding. Pay close attention to the different screw sizes, as using the incorrect ones could damage your TV or compromise the mount’s stability.
Familiarize yourself with each part’s function. The wall plate provides the foundation, while the TV brackets bear the television’s weight. Proper identification is key to a smooth and safe installation. If any parts are missing, contact Perlesmith support immediately at 1-800-556-6806 or via email.
Checking VESA Compatibility (200mm x 100mm Minimum)
Crucially, before installation, verify your TV’s VESA (Video Electronics Standards Association) compatibility. The Perlesmith mount requires a minimum VESA pattern of 200mm (approximately 7 7/8 inches) wide by 100mm (approximately 4 inches) high.
To determine your TV’s VESA pattern, measure the horizontal and vertical distance between the mounting holes on the back of your television. Common patterns include 200x100mm, 300x300mm, 400x400mm, and 600x400mm.
If your TV’s VESA pattern falls below 200mm x 100mm, this mount is not suitable, and you risk an insecure installation. Ensure the mounting holes align with the bracket’s screw holes. Using incorrect hardware or forcing an incompatible TV can lead to damage or injury. Refer to your TV’s manual for VESA specifications if needed.
Weight Restrictions & Safety Information (Up to 60kg/132lbs)
Important Safety Notice: This Perlesmith TV wall mount is rated for a maximum weight capacity of 60kg (132lbs). Do not exceed this limit. Exceeding the weight restriction can cause the mount to fail, potentially resulting in damage to your TV, property, and serious personal injury.
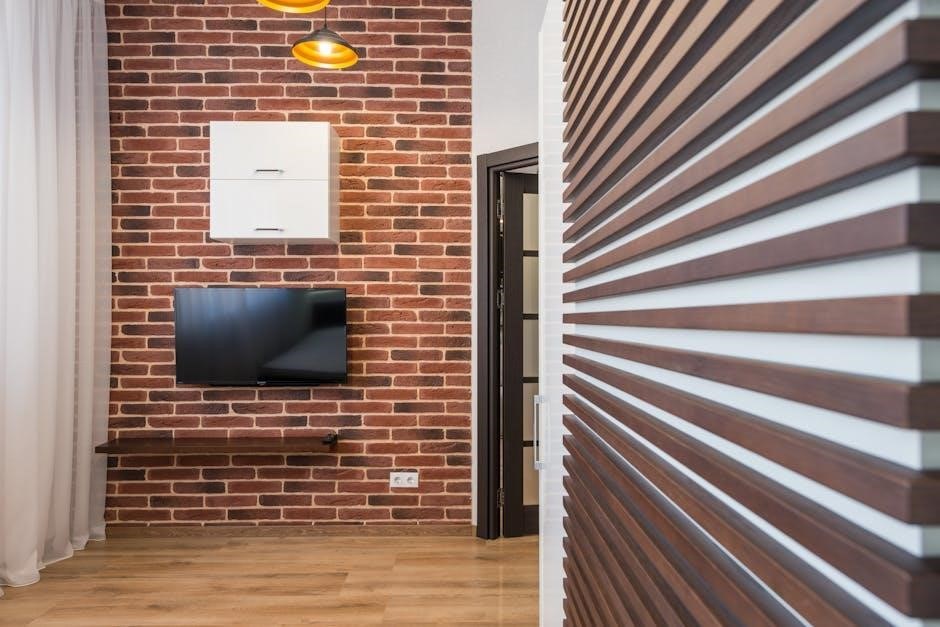
This mounting system is specifically designed for installation into wood studs, solid concrete, or concrete block brick walls. Do not attempt to mount the TV into drywall alone – this is extremely unsafe and will not provide adequate support.
The wall itself must be capable of supporting at least five times the combined weight of the TV and the mount. Carefully assess your wall’s structural integrity before proceeding. Perlesmith is not liable for damages or injuries resulting from improper mounting or exceeding the weight capacity.
Pre-Installation Preparation
Before you begin, carefully read all instructions and identify necessary tools. Locate wall studs – wood, concrete, or brick – for secure mounting.
Tools Required for Installation
Successful installation demands the right tools for a secure and safe setup. You will absolutely need a drill, capable of creating pilot holes in wood, concrete, or brick, depending on your wall type.
A stud finder is crucial for accurately locating wall studs, ensuring the mount is firmly anchored. A level is essential for guaranteeing the wall plate is perfectly horizontal, preventing a crooked TV display.
A screwdriver – both Phillips head and flathead – will be needed for tightening screws. A socket wrench set provides additional tightening power for larger bolts. A measuring tape is vital for precise measurements, particularly when marking stud locations and VESA patterns.
Finally, a pencil for marking drill points and a safety glasses are highly recommended to protect your eyes during drilling. Having these tools prepared beforehand streamlines the installation process.
Identifying Wall Studs (Wood Stud, Concrete, Brick)
Locating wall studs is paramount for a secure Perlesmith mount installation. For wood studs, a stud finder is your best bet, gliding it horizontally until it detects a change in density. Confirm findings by tapping – a solid sound indicates a stud.
Concrete and brick walls require a different approach. Use a drill with a masonry bit to create a small pilot hole. The resistance felt will indicate the solid material. Ensure you’re drilling into solid concrete or brick, not just mortar.
Important Note: This product is designed for wood stud, solid concrete, concrete block, or brick walls. Do not install into drywall alone! The wall must be capable of supporting five times the weight of the TV and mount combined. Accurate stud identification is non-negotiable for safety.
Safety Precautions (Avoid Drywall Installation)
Prioritize safety! Perlesmith strongly cautions against installing directly into drywall. Drywall lacks the structural integrity to support the TV and mount’s weight, leading to potential failure and serious injury or property damage.
Crucially, the wall must withstand five times the combined weight. Always locate and securely attach the mount to wood studs, solid concrete, or brick.
Never exceed the maximum weight capacity of 60kg (132lbs). Improper mounting, incorrect assembly, or inappropriate use voids any liability.
Caution: Avoid potential personal injuries and property damage by adhering strictly to these guidelines. If unsure about any step, contact Perlesmith’s Technical Support at 1-800-556-6806 or supportus@perlesmith.com.
Mounting Bracket Installation
Securely attach the wall plate to studs using appropriate hardware. Ensure proper leveling and firm securement for optimal TV mounting stability and safety.
Attaching the Wall Plate to Studs
Begin by carefully positioning the wall plate against the wall, ensuring it aligns with the previously identified wall studs. Utilize a stud finder to confirm accurate placement, as mounting directly into studs is crucial for supporting the TV’s weight.
Mark the mounting holes on the wall plate, corresponding to the stud locations. Drill pilot holes at these marked points, using a drill bit slightly smaller than the diameter of the lag bolts provided. This prevents wood splitting and ensures a secure fit.
Align the wall plate with the pilot holes and insert the lag bolts. Using a socket wrench, tighten the bolts firmly, but avoid over-tightening, which could strip the wood. Double-check that the wall plate is flush against the wall and securely fastened to the studs. Important: Do not install into drywall alone!
Wall Plate Leveling and Securement
Achieving a perfectly level wall plate is paramount for optimal TV viewing. Employ a spirit level, placing it atop the wall plate to verify horizontal alignment. If adjustments are needed, slightly loosen the lag bolts and gently reposition the plate until level.
Once level, re-tighten all lag bolts with the socket wrench, ensuring they remain snug but not over-tightened. A secure attachment is vital, as the wall plate will bear the full weight of your television. Periodically check the bolts for tightness, especially after initial installation.
Inspect the wall plate for any signs of movement or instability. If any wobble is detected, immediately address the issue by tightening the bolts further or, if necessary, adding additional support. Caution: The wall must support five times the TV and mount weight.
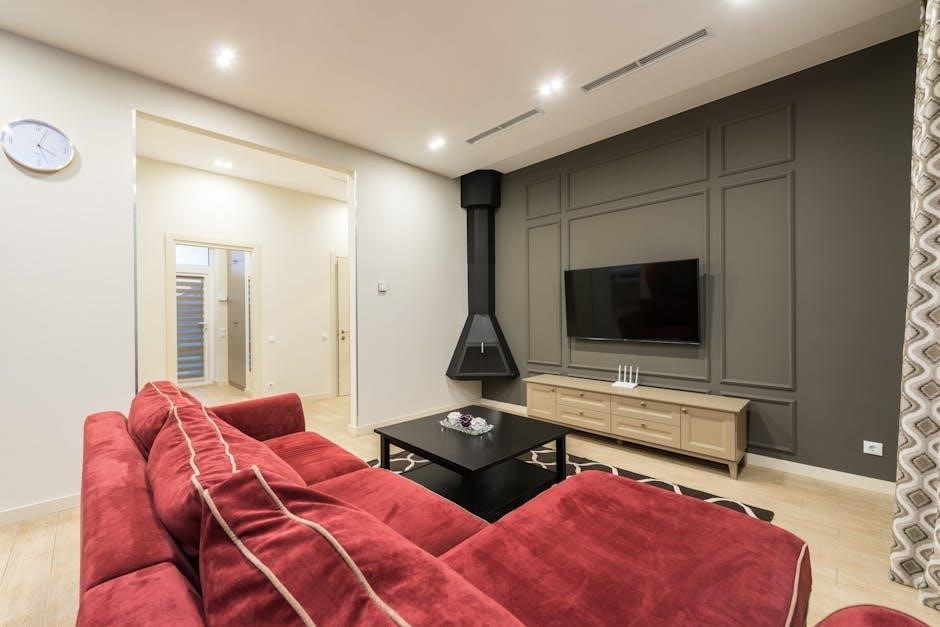
TV Bracket Installation
Securely attach the brackets to your TV, confirming a firm connection. Ensure the VESA pattern matches – minimum 200mm x 100mm – for compatibility.
Attaching Brackets to the TV
Begin by carefully selecting the appropriate screws from the hardware pack, ensuring they match the VESA mounting holes on the back of your television. The Perlesmith manual emphasizes confirming the VESA pattern – a minimum of 200mm (approximately 7 7/8 inches) wide by 100mm (approximately 4 inches) high – before proceeding.
Align the TV brackets with these holes and gently screw them into place. Do not overtighten, as this could potentially damage the television’s casing. Ensure the brackets are firmly and evenly attached, providing a stable base for mounting. Double-check that all screws are securely fastened, but avoid excessive force.
It’s crucial to use the correct screw length to avoid penetrating internal components of the TV. If you are unsure about the correct screws, consult the Perlesmith technical support team at 1-800-556-6806 or via email at supportus@perlesmith.com.
Confirming Secure Bracket Attachment
After attaching the brackets to your television, a thorough security check is paramount. Gently, but firmly, attempt to wiggle each bracket individually. Any movement indicates a loose screw or improper installation, requiring immediate attention. Re-tighten screws as needed, ensuring a snug fit without overexerting force.
Visually inspect each bracket to confirm it’s flush against the TV’s back panel. Gaps or uneven alignment suggest a potential issue. Remember, the brackets bear the entire weight of the TV, so stability is non-negotiable. Perlesmith stresses avoiding improper mounting to prevent damage or injury.
Prior to proceeding with wall mounting, double-check that the weight of the TV does not exceed the mount’s maximum capacity of 60kg (132lbs). Contact Perlesmith support at 1-800-556-6806 or supportus@perlesmith.com if you have any doubts about the bracket’s security or weight limitations.

Mounting the TV to the Wall Plate
Carefully lift and align the TV brackets with the wall plate, ensuring a secure connection. Confirm proper alignment before fully engaging the locking mechanism.
Lifting and Aligning the TV
Prior to lifting, ensure the wall plate is securely mounted and leveled. It’s highly recommended to have an assistant for this step, as TVs can be surprisingly heavy and awkward to maneuver. Carefully lift the TV, holding it firmly by the sides.
Align the brackets attached to the back of the TV with the corresponding slots or hooks on the wall plate. This step requires precision; double-check that all brackets are properly aligned before proceeding.
Gently lower the TV onto the wall plate, ensuring the brackets fully engage with the locking mechanism. You should hear a distinct click or feel a secure connection. Do not force the TV onto the plate; if it doesn’t align easily, re-check the bracket alignment and the wall plate’s leveling.
Confirm the TV is hanging securely before releasing your grip. A wobbly or unstable TV indicates a potential issue with the alignment or locking mechanism.
Securing the TV to the Wall Plate
Once the TV is gently lowered and the brackets are engaged with the wall plate, it’s crucial to fully secure it. Locate the locking screws or mechanisms provided with your Perlesmith mount – these are typically found on the sides or bottom of the wall plate.
Using the appropriate screwdriver (often a Phillips head), tighten these screws firmly. Do not overtighten, as this could damage the TV or the wall plate. Tighten each screw incrementally, alternating between sides to ensure even pressure and a balanced securement.
Double-check that all locking mechanisms are fully engaged and that the TV is firmly attached to the wall plate. Gently attempt to move the TV – it should not wobble or shift. If any movement is detected, re-tighten the screws or inspect the bracket connections.
This secure attachment is paramount for safety and prevents accidental dismounting.
Post-Installation Adjustments
Enjoy! Now, adjust tilting and swivel features for optimal viewing. Manage cables neatly for a clean look, and perform a final safety check.
Tilting and Swivel Adjustments
Fine-tune your viewing experience! Perlesmith mounts are designed to offer flexible adjustments, allowing you to achieve the perfect angle for any seating arrangement. Gently tilt the screen up or down to minimize glare and optimize picture quality.
Swivel functionality enables you to share the viewing experience with others in the room, or to easily reposition the TV without needing to remount it.
Before making adjustments, ensure all connections are secure and that the mount is firmly attached to the wall. Avoid applying excessive force, as this could compromise the stability of the mount. Regularly check the tightness of all screws and bolts to maintain a safe and secure installation.
Experiment with different angles to find what works best for your space and viewing preferences.
Cable Management Solutions
Maintain a clean and organized setup! A cluttered array of cables can detract from the sleek appearance of your mounted TV. Perlesmith mounts often incorporate clever cable management features to conceal and organize wires.
Utilize the integrated cable channels and clips to neatly route cables along the back of the mount and down the wall. Consider using cable ties or sleeves to bundle cables together for a more streamlined look.
Avoid kinking or excessively bending cables, as this can damage them over time. Ensure sufficient slack is provided to allow for adjustments and prevent strain on the connections.
For a truly hidden solution, explore in-wall cable management kits to run cables discreetly through the wall cavity. Prioritize safety and follow all local electrical codes when working with electrical wiring.
Final Safety Check
Prioritize safety above all else! Before enjoying your newly mounted TV, perform a thorough final safety check. Gently but firmly tug on the TV to confirm it is securely attached to the wall plate. Verify all screws and bolts are tightened to the recommended torque – do not overtighten.
Inspect the wall plate to ensure it is firmly anchored to the wall studs or concrete. Double-check that the weight of the TV does not exceed the mount’s maximum capacity of 60kg/132lbs.
Carefully examine all cable connections to ensure they are secure and properly routed. Avoid any strain on the cables.
Finally, step back and visually inspect the entire installation for any potential hazards. A secure and well-installed mount provides years of reliable enjoyment!