Flipper Remote Manual: A Comprehensive Guide
This comprehensive guide provides detailed instructions for setting up, programming, and troubleshooting your Flipper remote. Whether you’re a beginner or an advanced user, this manual will help you maximize its functionality.
Understanding the Flipper Remote
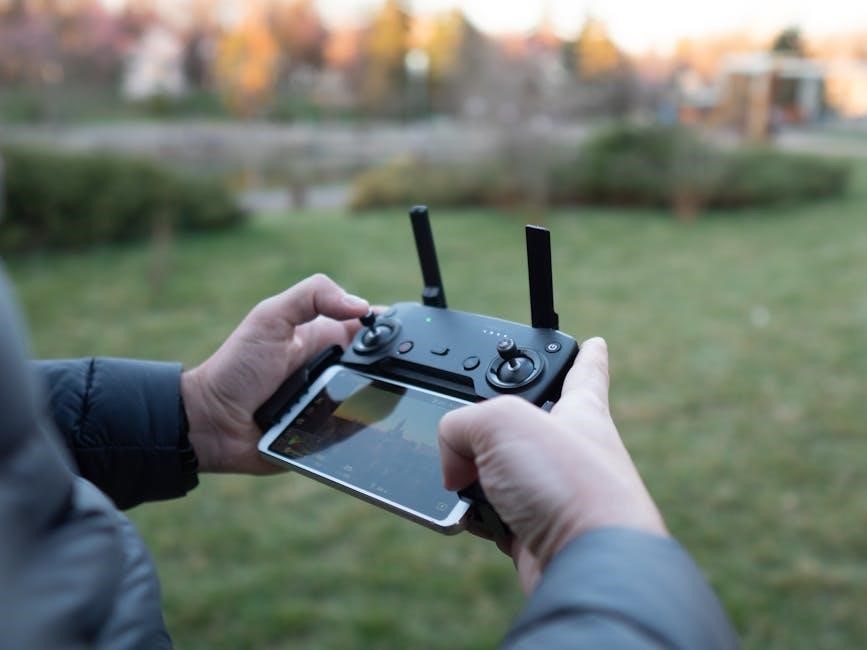
The Flipper remote is a versatile device designed for controlling a variety of electronics, particularly beneficial for seniors due to its simplified interface. It functions as a universal remote, capable of learning and mimicking signals from other remotes, as noted on November 1, 2024. This eliminates the need for multiple remotes, streamlining the user experience.
The Flipper remote can be set up by finding the device’s brand code in the provided list and entering setup mode. It also boasts advanced capabilities such as Remote Control Mode using AT commands, allowing for customized control configurations as of March 15, 2023.
Furthermore, the Flipper Zero integration expands its functionality, allowing it to act as a remote itself. Its simple design and broad compatibility make it an ideal solution for many remote control needs.
Setting Up Your Flipper Remote
Setting up your Flipper remote involves initial setup, battery installation, and pairing with devices. Following these steps ensures the remote is ready for programming and use with your electronics.
Initial Setup and Battery Installation
The first step in using your Flipper remote involves the initial setup and proper battery installation. Open the battery compartment, typically located on the back of the remote. Ensure you use the correct type of batteries as specified in the remote’s documentation; incorrect batteries may damage the device or result in malfunction.
Insert the batteries according to the polarity markings (+ and -) inside the compartment. Close the compartment securely after inserting the batteries. Power on the remote by pressing the power button. If the remote doesn’t power on, double-check the battery installation and battery life. Replace the batteries if necessary. Once powered, the remote is ready for pairing.
Refer to the device code list to prepare for the next step, as you may need to input a specific code for your TV or device during the pairing process. This ensures compatibility and proper function.
Pairing the Remote with Devices
Pairing your Flipper remote with your devices is a crucial step to ensure seamless control. Begin by consulting the device code list included in the manual. Locate the brand and model of the device you wish to control, such as your TV, DVD player, or sound system. Note the corresponding code, as you’ll need it during the pairing process.
Next, enter setup mode on the remote. Typically, this involves pressing and holding the “SET” key along with the device key (e.g., TV, DVD) simultaneously until the indicator light illuminates. Once in setup mode, enter the device code using the number buttons on the remote. The indicator light may blink or remain solid to confirm the code has been entered.
Test the remote by pressing a few buttons, such as the power or volume controls, to see if the device responds. If it doesn’t, try another code listed for your device brand. Repeat the process until you find the code that works.

Programming the Flipper Remote
This section covers programming your Flipper remote using device codes and learning new remote signals. Master these techniques to control all your devices effortlessly.
Using Device Codes
Programming your Flipper remote with device codes is a straightforward method for controlling various electronic devices. These codes are specific to each brand and device type, allowing your remote to communicate effectively. To begin, consult the device code list included with your Flipper remote or available online, ensuring compatibility with your device’s manufacturer.
Once you’ve identified the correct code, enter setup mode on your remote by pressing and holding the ‘SET’ key and the appropriate device key (e.g., TV, DVD). Next, input the four- or five-digit device code using the number buttons. The remote might blink or provide other visual feedback to confirm the code entry.
After entering the code, test the remote’s functionality by pressing buttons like ‘Power,’ ‘Volume,’ or ‘Channel.’ If the device responds correctly, the programming is successful. If not, try another code from the list until you find one that works. This process might require some patience, but it’s a reliable way to configure your Flipper remote.
Learning New Remote Signals (Infrared)
The Flipper remote’s ability to learn new infrared (IR) signals expands its compatibility beyond pre-programmed device codes. This feature is particularly useful for older or less common devices not listed in the standard code database. To initiate the learning process, access the “Infrared ⸺ Learn new remote” menu on your Flipper device.
Position the original remote directly facing the Flipper remote’s IR receiver, typically located on the front. Select the button on the Flipper remote you wish to program, and then press the corresponding button on the original remote. The Flipper remote will attempt to capture and store the IR signal.
Successful learning is usually indicated by visual feedback, such as a light or on-screen confirmation. Repeat this process for each button you want to program. Once completed, you can save the learned signals as a new custom remote profile. This allows you to control devices with unique or proprietary IR protocols, significantly enhancing the versatility of your Flipper remote.
Advanced Features and Customization
Explore advanced functionalities and customization options to tailor your Flipper remote to your specific needs. Unlock the full potential with personalized settings and unique configurations.
Remote Control Mode (AT Commands)
The Flipper remote offers advanced users the capability to control its functions using AT commands. This mode allows for granular control over various aspects of the remote, both before and after establishing a connection. AT commands provide a powerful way to customize the remote’s behavior, enabling users to fine-tune its performance to suit their specific requirements.
This feature is particularly useful for developers and enthusiasts who want to integrate the Flipper remote into custom projects or automation systems. By utilizing AT commands, users can programmatically control the remote’s infrared capabilities, configure its settings, and even create complex sequences of actions. Furthermore, the Remote Control Mode provides a direct interface for debugging and troubleshooting issues. Experimentation with AT commands offers a deeper understanding of the Flipper remote’s inner workings.
Troubleshooting
Having issues with your Flipper Remote? This section addresses common problems encountered, offering step-by-step solutions to get your remote back up and running smoothly.
Common Issues and Solutions
Encountering problems with your Flipper remote? Let’s address some common issues and their solutions. If your remote isn’t responding, first check the batteries. Ensure they are correctly installed and have sufficient power. Low battery power can lead to intermittent or complete failure of the remote.
Next, verify the remote is properly paired with your device. Follow the pairing instructions in the “Setting Up Your Flipper Remote” section. If pairing fails, try resetting the remote by removing the batteries for a few minutes and then reinserting them.
If specific buttons aren’t working, double-check the device code entered. Incorrect codes will prevent proper functionality. Refer to the device code list and re-enter the correct code. For infrared (IR) learning issues, ensure there are no obstructions between the remotes.
Still having problems? Consult the advanced troubleshooting steps in the manual or contact customer support for further assistance.

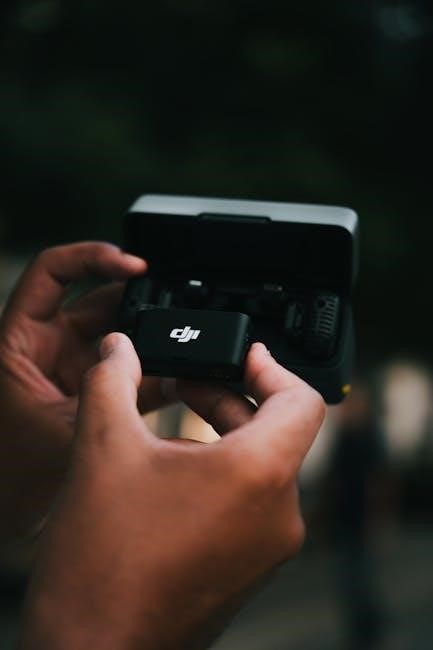
Flipper Zero Integration
Discover how to integrate your Flipper remote with the Flipper Zero device. Explore functionalities such as using Flipper Zero as a remote and potential advanced control options.
Using Flipper Zero as a Remote
The Flipper Zero can function as a powerful universal remote when integrated with the Flipper remote. This integration allows you to control a wide range of devices, leveraging Flipper Zero’s capabilities, such as its infrared (IR) transceiver. Begin by pairing your Flipper remote with the Flipper Zero. This will allow you to transmit saved remote signals.
Next, you can program your Flipper Zero with new remote signals learned from existing remotes. This is achieved through the “Infrared ― Learn new remote” function within the Flipper Zero’s interface, where you can save custom remote profiles. After saving, these profiles can be sent through the Flipper remote, effectively expanding its control capabilities.
Furthermore, the Flipper Zero provides enhanced control options through its AT command interface. By using the remote control mode, you can customize and fine-tune the remote’s behavior, adding more versatility. The possibilities with this integration are vast, ranging from simple TV control to advanced automation scenarios.

Alternative Remotes and Debugging Tools
Explore alternative remote options and debugging tools to enhance your Flipper remote experience. This section covers available resources for troubleshooting and improving remote functionality.
Flipper Mobile App Debugger
The Flipper Mobile App Debugger stands as a powerful, open-source tool designed for iOS, Android, and React Native applications. As an extensible platform, it allows developers to inspect, control, and visualize their mobile apps effectively. This section delves into utilizing Flipper for debugging remote functionalities, offering insights into its features and capabilities.
By leveraging Flipper, users can gain a deeper understanding of their remote’s behavior, identify potential issues, and optimize performance. The debugger provides a user-friendly interface for examining various aspects of the app, including network requests, logs, and UI elements. This comprehensive overview empowers developers to streamline their debugging process, ensuring a smoother and more efficient workflow. With its versatile nature and extensive plugin ecosystem, Flipper significantly enhances the development and troubleshooting experience for mobile applications.